
Sourdough Wild Yeast Bread
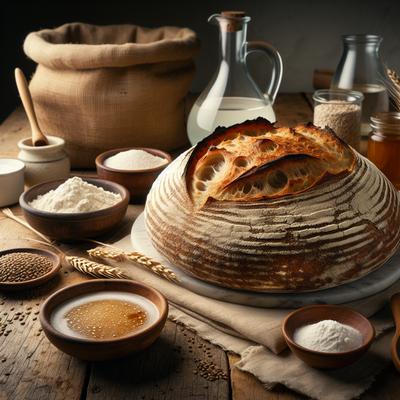
Experience the art of slow, natural fermentation with this Sourdough Wild Yeast Bread recipe, a true celebration of traditional bread-making. Crafted with just four simple ingredients—active sourdough starter, bread flour, filtered water, and salt—this recipe highlights the beauty of using wild yeast for a complex, tangy flavor and irresistibly chewy texture. With step-by-step techniques like the autolyse process, stretch-and-folds, and an overnight cold proof, this recipe ensures a bakery-quality loaf with a beautifully blistered crust and open crumb. Perfect for beginners and seasoned bakers alike, this sourdough bread is ideal for toasting, topping with spreads, or savoring alongside soups and salads. Let the magic of fermentation transform humble ingredients into an artisan masterpiece!
Try SnapCalorie's FREE AI assisted nutrition tracking free in the App store or on Android.

Scan with your phone to download!
Ingredients
- 100 grams Sourdough starter (active and bubbly)
- 350 grams Filtered water (room temperature)
- 500 grams Bread flour
- 10 grams Salt
Directions
Step 1
Step 1: Start by feeding your sourdough starter approximately 4-6 hours before you plan to begin. Ensure it’s active and bubbly before using.
Step 2
Step 2: In a large mixing bowl, combine 100g of active sourdough starter and 350g of filtered water. Stir until the starter is dissolved.
Step 3
Step 3: Add 500g of bread flour to the bowl. Mix the ingredients with your hand or a wooden spoon until no dry flour remains. Cover the bowl with a clean kitchen towel and let the dough rest for 45 minutes (autolyse stage).
Step 4
Step 4: Sprinkle 10g of salt over the dough. Wet your hand and work the salt into the dough using a pinching motion. Fold the dough over itself several times to incorporate the salt evenly.
Step 5
Step 5: Begin the bulk fermentation process. Over the next 4 hours, perform a series of stretch-and-folds every 30 minutes. To do this, grab one edge of the dough, stretch it upward, and fold it over the rest of the dough. Rotate the bowl 90 degrees and repeat until all four sides have been folded.
Step 6
Step 6: After the last stretch-and-fold, let the dough rest for another 1-2 hours at room temperature until it has risen by about 50% and looks puffy.
Step 7
Step 7: Gently turn the dough out onto a lightly floured surface. Shape it into a round or oval loaf by stretching and tucking the edges under the dough. Place the dough into a floured proofing basket or a bowl lined with a floured towel.
Step 8
Step 8: Cover the dough and refrigerate it overnight (8-12 hours) for a slow, cold fermentation. This step enhances the flavor and texture of the bread.
Step 9
Step 9: The next day, preheat your oven to 475°F (245°C) for at least 30 minutes. Place a Dutch oven (with its lid) in the oven to heat.
Step 10
Step 10: Remove the dough from the fridge. Carefully transfer it onto a sheet of parchment paper. Score the top of the dough with a sharp knife or razor to allow it to expand in the oven.
Step 11
Step 11: Carefully remove the preheated Dutch oven from the oven, and using the parchment paper, lower the dough into the pot. Cover with the lid and bake for 20 minutes.
Step 12
Step 12: Remove the lid and continue baking for an additional 20-25 minutes, or until the bread has a deep golden-brown crust.
Step 13
Step 13: Remove the bread from the Dutch oven and let it cool completely on a wire rack before slicing.
Nutrition Facts
| Serving size | (960g) |
|---|
| Amount per serving | % Daily Value* |
|---|---|
| Calories | 1870 |
| Total Fat 7.7g | 0% |
| Saturated Fat 1.6g | 0% |
| Cholesterol 0mg | 0% |
| Sodium 3944.3mg | 0% |
| Total Carbohydrate 390g | 0% |
| Dietary Fiber 14.0g | 0% |
| Total Sugars 1.6g | |
| Protein 61.5g | 0% |
| Vitamin D 0IU | 0% |
| Calcium 80mg | 0% |
| Iron 22.3mg | 0% |
| Potassium 540mg | 0% |
Source of Calories