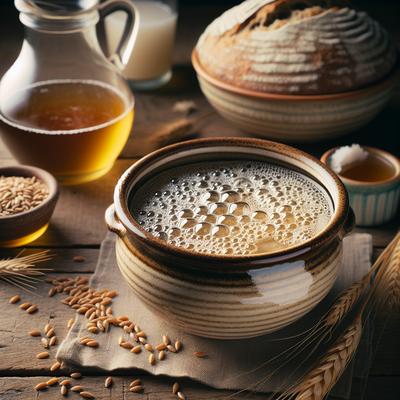
Sourdough Bread Starter
Create the foundation for artisanal baking with this easy and naturally fermented sourdough bread starter recipe! Using just unbleached all-purpose flour and water, this step-by-step guide walks you through cultivating a bubbling, tangy starter from scratch in just 5-7 days. Perfect for beginners and seasoned bakers alike, this detailed process fosters wild yeast and beneficial bacteria, resulting in a robust starter that’s ideal for artisan loaves, pancakes, and more. Learn how to nurture and maintain your sourdough starter with daily feedings, simple ingredients, and foolproof techniques that unlock a world of homemade baking possibilities. Let the magic of fermentation elevate your bread-making game!
Try SnapCalorie's FREE AI assisted nutrition tracking free in the App store or on Android.

Scan with your phone to download!

Ingredients
- 120 grams Unbleached all-purpose flour
- 120 milliliters Water (room temperature)
- 60 grams Unbleached all-purpose flour (for feeding)
- 60 milliliters Water (room temperature, for feeding)
Directions
Step 1
Day 1: In a clean glass jar or bowl, combine 120 grams of unbleached all-purpose flour and 120 milliliters of room-temperature water. Stir thoroughly until no dry flour remains. Cover loosely with a clean kitchen towel or plastic wrap. Let sit at room temperature (about 70-75°F or 21-24°C) for 24 hours.
Step 2
Day 2: Check your mixture. You may not see much activity yet, but there might be a few bubbles, indicating fermentation has started. Stir the mixture and discard half of it (approximately 120 grams). Add 60 grams of unbleached all-purpose flour and 60 milliliters of room-temperature water to the remaining mixture. Stir well and cover loosely again. Let sit at room temperature for another 24 hours.
Step 3
Day 3: By now, you should see more bubbles and notice a slightly tangy smell. Repeat the process: discard half of the mixture, then add 60 grams of flour and 60 milliliters of water. Stir, cover loosely, and let sit for 24 hours.
Step 4
Day 4: The starter should look more active and bubbly by this point, and it will likely double in size between feedings. Repeat the same feeding process: discard half, then add 60 grams of flour and 60 milliliters of water. Stir, cover, and let it sit for 24 hours.
Step 5
Days 5-7: Continue feeding the starter daily. By day 6 or 7, the starter should have a pleasant tangy aroma, be very bubbly, and double in size within 4-6 hours of feeding. This indicates that your sourdough starter is ready for use.
Step 6
Maintenance: Once the starter is active and ready, you can store it in the refrigerator and feed it once a week. To use it in recipes, take it out, feed it, and let it sit at room temperature until it becomes bubbly and active again.
Nutrition Facts
| Serving size | (362.6g) |
|---|
| Amount per serving | % Daily Value* |
|---|---|
| Calories | 655.2 |
| Total Fat 1.8g | 0% |
| Saturated Fat 0.3g | 0% |
| Cholesterol 0mg | 0% |
| Sodium 3.6mg | 0% |
| Total Carbohydrate 137.3g | 0% |
| Dietary Fiber 4.9g | 0% |
| Total Sugars 0.5g | |
| Protein 18.6g | 0% |
| Vitamin D 0IU | 0% |
| Calcium 27mg | 0% |
| Iron 4.0mg | 0% |
| Potassium 192.6mg | 0% |
Source of Calories
